Brave New World – How to Make Modeling Chocolate
A little over a year ago an amazing sugar artist, Shawna McGreevy introduced me to the world of modeling chocolate and what she can do set me off into a creative dimension that I am never to come back from. Modeling chocolate is so versatile and I like it so much better than fondant for all my figures that I make. If you do a 50/50 mix with a good fondant then it is even great for covering cakes.
So this ode to Modeling chocolate begins with the how-to on making it and then some things you can do.
The Ingredients
Here is a list of all the tools and ingredients that you will need to create white modeling chocolate. I provide different ratios a little later on using other candy melts other than white.
- Ingredients
- 40 oz Wilton Bright White Candy Melts
- 8 oz light corn syrup
- Rubber Spatula
- Plastic Wrap
Step-by-Step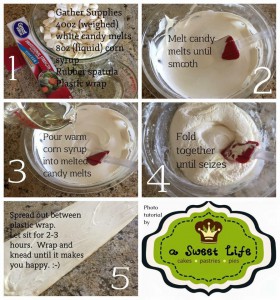
Step 1: Melt the candy melts
Place the candy melts in a microwave safe bowl and heat on high for 30 seconds. Take out of microwave and stir. It is important that you don’t do this in more than 20-30 second bursts of time and you stir in between.
Step 2: Warm the Corn Syrup
Warm the corn syrup in the microwave for 10-15 seconds on high.
Step 3: Pour & Fold
Pour the warm corn syrup into the melted candy melts and fold together. As you fold, the corn syrup will seize the candy melts and it will begin to get stiff. You don’t really need to fold for more than 2 minutes.
Step 4: Spread on Plastic
Stretch out some plastic wrap. For this quality I take two sheets and overlap them so I end up with a big sheet of plastic wrap. Take your modeling chocolate out of the bowl and put on the plastic wrap. This is where I do some magic. I fold over one side of the plastic wrap to the other side (complete encasing the modeling chocolate) and then I start to spread it out between the sheets of plastic. Why? It takes less time to set up if you do this..especially on my granite countertops. I make sure that I spread it out until it is about 1/8 or 1/4″ thick (see pic #5 above)
Step 5: Wait
I hate waiting, but I do for about 2-3 hours. Then I unwrap and knead it until I am happy. After that then you can wrap it back up in plastic until you are ready to use it.
Tips & Tricks with Modeling Chocolate
- Covering Cakes: Mix with fondant in a 50/50 ratio and it will work for covering cakes (and tastes really good).
- Coloring Modeling Chocolate: You can use gel coloring with it, however if you are going for darker colors then you will want to consider to color the melts in the melting stage instead of kneading color in later. If you do this then you should always use candy colors which are oil based and not gel or water based colors. If you are going for lighter colors then you can just use gel after it has been made.
- Hot Hands: If you are like me and find that you have “hot hands” and the modeling chocolate wants to melt as you work with it then use Nitrile gloves when you are handling it or have a frozen package a peas handy to keep your hands cool.
- Smoothing & Blending: Modeling chocolate is very easy to smooth and blend with just your fingers, however for texturing or blending without finger prints then I recommend getting a set of color shapers. You can find links to them on my tools page.
- Lumps: If your modeling chocolate has a little bit of lumps after you knead it don’t panic. Just wrap it back up and put in the microwave for 10 seconds and give it a bit more kneading. You can continue to do this until the lumps have been worked out.
- Ratios: As I mentioned at the beginning of the post, not all candy melts use the same ratios. Here are the guidelines to use for other candy melts:
- Dark Chocolate – 7 oz. weighed melts to 4 oz liquid corn syrup
- Milk Chocolate – 7 oz. weighed melts to 3 tablespoons liquid corn syrup
- Colored Melts – 12 oz weighed melts to 2 oz liquid corn syrup
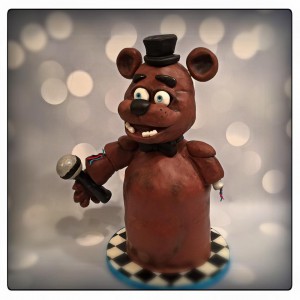
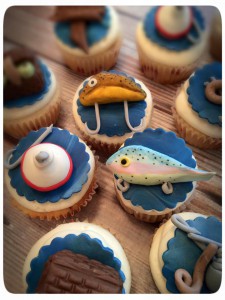
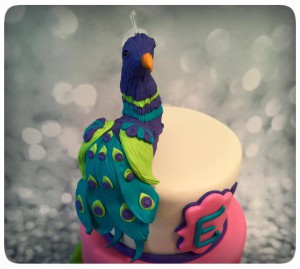
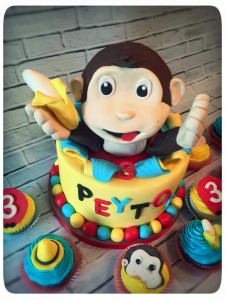
Now let’s take a look at some of the fun stuff you can do with modeling chocolate.
